
NEPTUNE BOAT FLOORING PTY LTD – TRIDECK FLOORING INSTALLATION BEST PRACTICE GUIDELINE
Neptune Trideck Flooring provides a cost-effective way to customise any boat with a long-lasting EVA surface that enhances safety and installation is so straightforward.
how to install
For the best results, Neptune recommends that you keep in mind the following:
- Do not install the Product if the temperature will drop below 10°C or exceed 38°C during the installation and curing period.
- Do not try to reposition or adjust the flooring pads once you have removed the backing paper and placed the flooring pad in position.
- The flooring pads should fit neatly in place. Do not pull, stretch or compress pads into position.
Gather all the tools you’ll need including:
- A sharp razor knife, such as a Stanley retractable blade knife
- Rags for cleaning
- Cleaning solutions for removing grease and oils e.g. Isopropyl Alcohol 90% (Propan-2-ol) or Acetone (Propan-2-one)
- Masking tape
Removal of all grease, oil, wax, old adhesive, dirt and any other contaminants from the surface to be covered is essential. Applying acetone with a clean rag is highly effective for this. A second clean with a clean rag and isopropyl alcohol will help to remove any remaining residues.
Allow the surface to dry completely before moving on to the next steps.
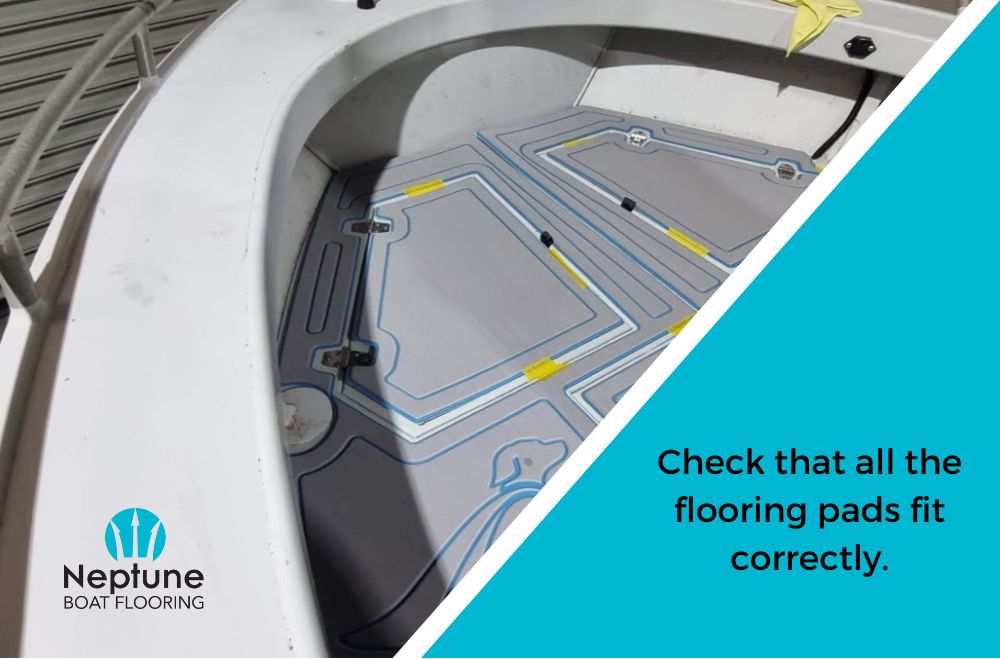
Step 1:
You will want to check that all the flooring pads fit correctly in their assigned positions before you peel the paper backing off.
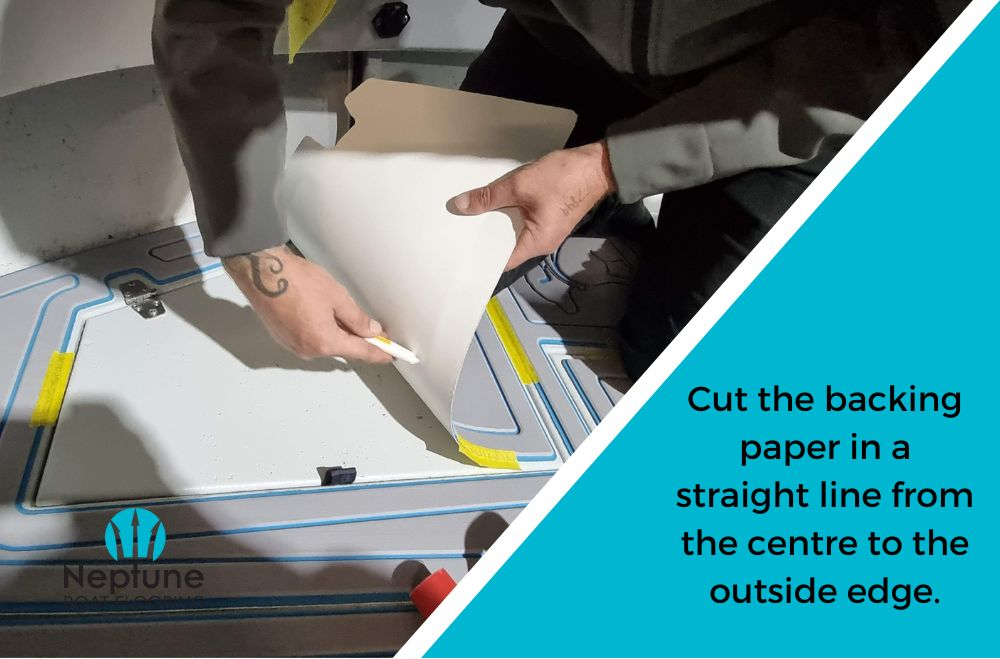
Step 2:
Once you are satisfied with the flooring pad placement, turn the first pad over. Using a sharp knife, cut the backing paper in a straight line from the centre to the outside edge.
Repeat in the opposite direction so you have a single straight cut from one side of the pad to the other. Cut only the backing paper—take care to avoid cutting into the flooring pad itself.
Cutting the paper in this way will allow you to peel it off without any ripping.
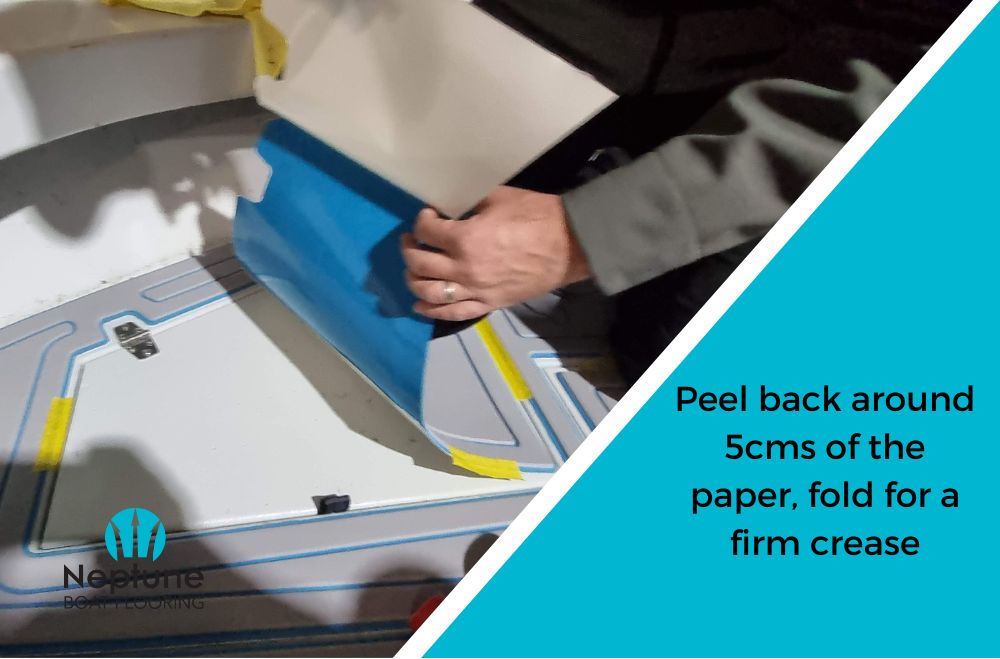
Step 3:
Starting from the centre cut, peel back around 5cms of the paper, fold for a firm crease. Repeat on the other side of the cut line.
This step will make it easier to peel the paper back without disturbing the flooring pad alignment. Now fold both creased sections back into place over the adhesive.
Step 4:
Turn the flooring pad right way up and place into the correct position.
Apply masking tape to one side so that the pad is held securely in place and won’t move.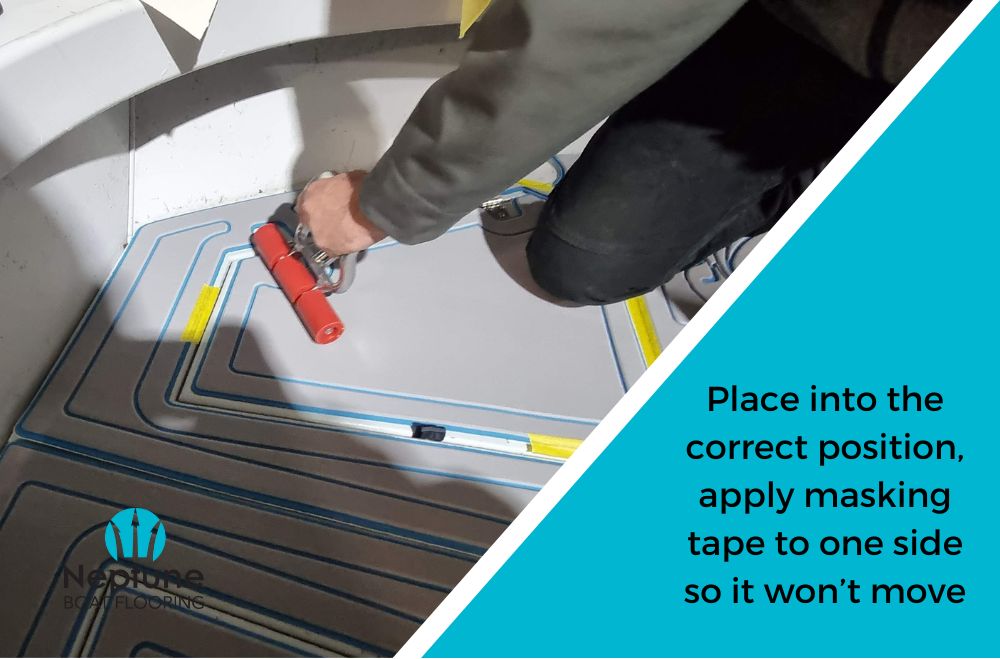
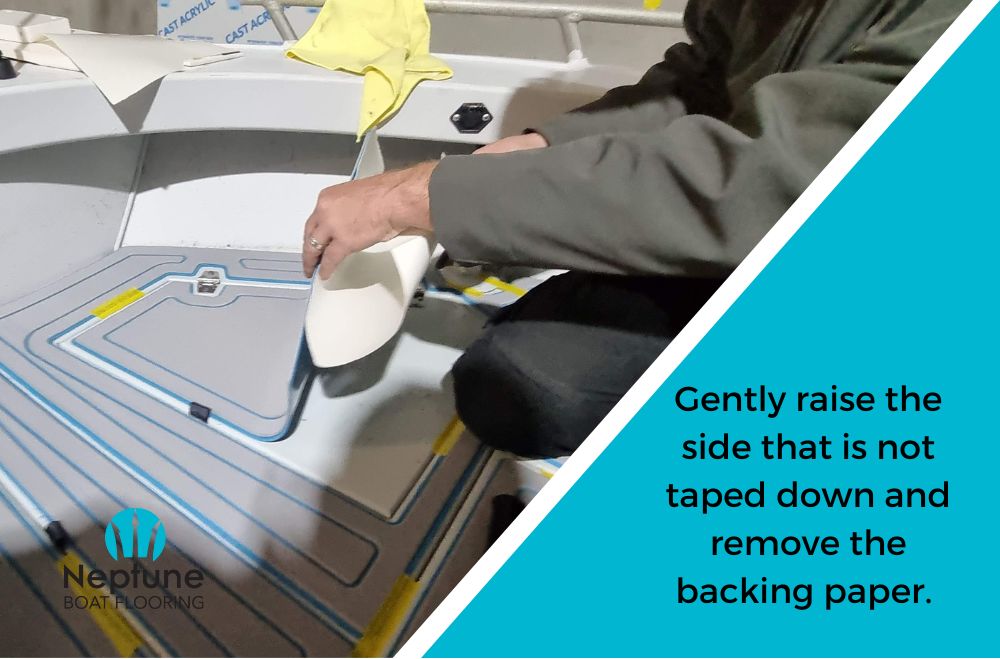
Step 5:
Gently raise the side that is not taped down and remove the first 5cms of backing paper from the centre line back to the crease.
Press the flooring pad into place pressing firmly over the area where the adhesive is exposed.
Work from the centre to the outer edges (along the line you cut in the backing paper) pressing firmly to remove any air bubbles.
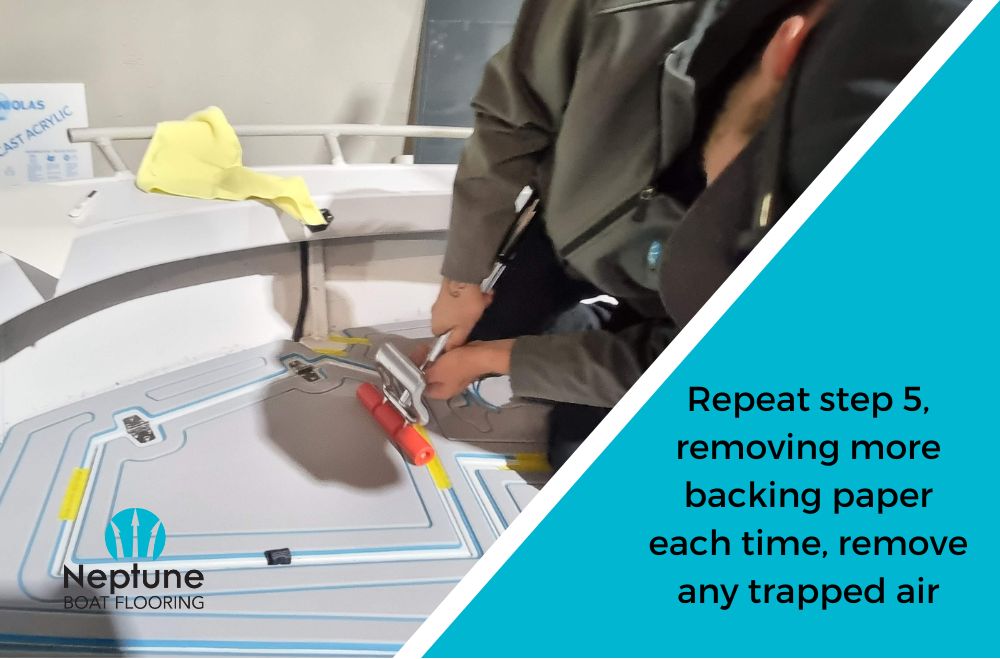
Step 6:
Repeat step 5, removing another 5cms of backing paper each time and taking care to remove any trapped air and ensure a good seal.
Step 7:
Once you have completed the first side, remove the masking tape and repeat the process with the second half of the flooring pad.
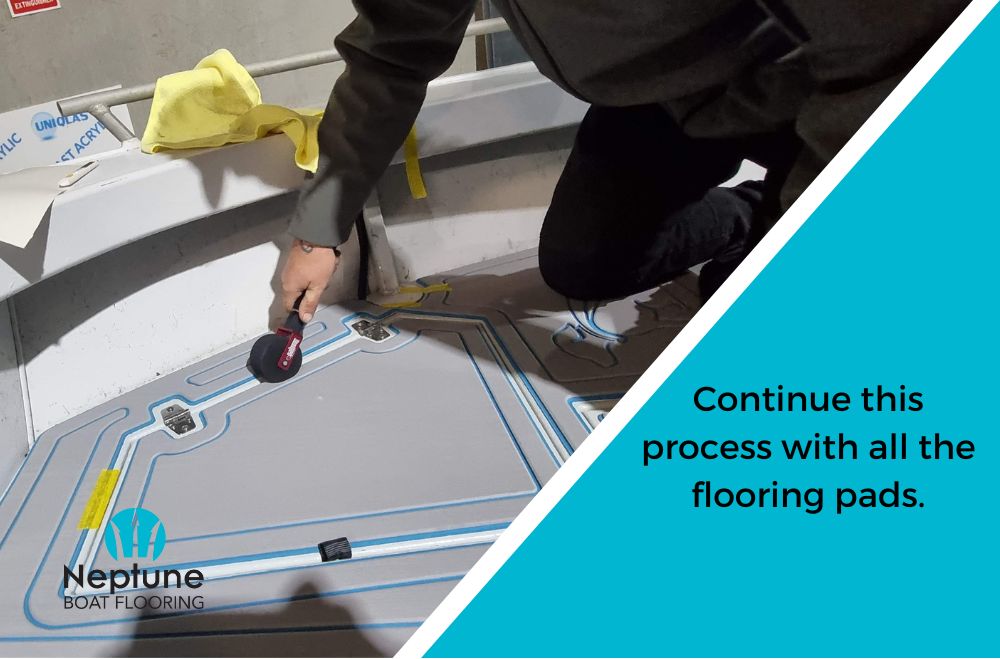
Step 8:
Continue this process with all the flooring pads.